Sentry 是一个开源的实时错误报告工具,可以把程序在运行时出错很好的显示出来,并能通知到相关人员,还可以和Jira集成,是一个很不错的实时程序 crash监控和报警系统。因为它所使用的服务比较多,它的搭建也相对复杂。如果想要线下测试一下它的功能,可以使用onpremise这个官方的Sentry docker项目,直接用Docker for windows把Sentry在你的windows10上跑启来。
相关链接
下载安装 Docker for windows
请参考我上一篇文章
请保证Docker for windows安装正确可用
使用onpremise 安装Sentry
git clone onpremise项目,生成DNS key,用docker volume 生成一个给postgres使用的卷(这个只有在docker for windows上要,如果是linux就没有必要了)
1
2
3
4
5
6
7
8
9
# 把 onpremise git clone下来
mkdir c:\Users\Admin\gitsrc\
git clone https://github.com/getsentry/onpremise
cd onpremise
mkdir -p data/sentry
# Sentry 使用postgres DB,给它建个volume 做持久化,这个和官方文档上不一样,不用这个方法,postgres会启不来
docker volume create -d local sentry-new-postgresql
# 生成DSN key,把下面命令跑完后生的成DNS key 拷贝下来
docker-compose run --rm web config generate-secret-key编辑 docker-compose.yml文件,内容如下
1
2
3
4
5
6
7
8
9
10
11
12
13
14
15
16
17
18
19
20
21
22
23
24
25
26
27
28
29
30
31
32
33
34
35
36
37
38
39
40
41
42
43
44
45
46
47
48
49
50
51
52
53
54
55
56
57
58
59
60
61
62
63
64
65
66
67
68
69
70
71
72
73
74
75
76
77
78
79
80
# NOTE: This docker-compose.yml is meant to be just an example of how
# you could accomplish this on your own. It is not intended to work in
# all use-cases and must be adapted to fit your needs. This is merely
# a guideline.
# See docs.getsentry.com/on-premise/server/ for full
# instructions
version: '2'
services:
base:
restart: unless-stopped
build: .
environment:
# Run `docker-compose run web config generate-secret-key`
# to get the SENTRY_SECRET_KEY value.
# 这段就是DNSkey文件,请改成你的内容
SENTRY_SECRET_KEY: '这段就是DNSkey文件,请改成你的内容'
SENTRY_MEMCACHED_HOST: memcached
SENTRY_REDIS_HOST: redis
SENTRY_POSTGRES_HOST: postgres
SENTRY_EMAIL_HOST: 'smtp.189.cn'
SENTRY_EMAIL_USER: '18917918960@189.cn'
SENTRY_SERVER_EMAIL: '18917918960@189.cn'
SENTRY_EMAIL_PASSWORD: 'SSyn761009'
volumes:
- c:/Users/Admin/gitsrc/onpremise/data/sentry:/var/lib/sentry/files
smtp:
restart: unless-stopped
image: tianon/exim4
memcached:
restart: unless-stopped
image: memcached:1.4
redis:
restart: unless-stopped
image: redis:3.2-alpine
postgres:
restart: unless-stopped
image: postgres:9.5
# 这里要使用之前生成的docker volumes,不然postgres跑不起来
volumes:
- sentry-new-postgresql:/var/lib/postgresql/data:Z
web:
restart: unless-stopped
extends: base
links:
- redis
- postgres
- memcached
- smtp
ports:
- '9000:9000'
cron:
restart: unless-stopped
extends: base
command: run cron
links:
- redis
- postgres
- memcached
- smtp
worker:
restart: unless-stopped
extends: base
command: run worker
links:
- redis
- postgres
- memcached
- smtp
volumes:
sentry-new-postgresql:
external: true生成数据库,并建一个管理用户
1
docker-compose run --rm web upgrade
把整个Sentry dockers 拉启来
1
docker-compose up -d
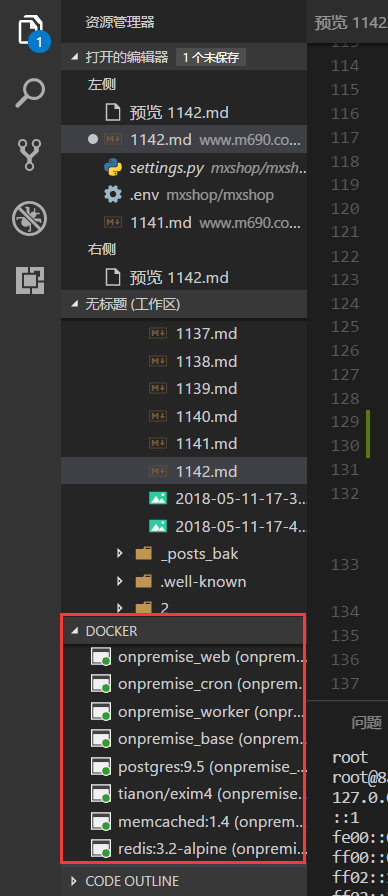
拉启来后,在vscode中可以看到一堆docker containers 跑了启来:
- 最后,就可以在浏览器中访问 http://localhost:9000 了, 五步完成Sentry在windows上的安装 ,非常方便。
与Django 集成
与 Django 集成非常方便,安装raven ,并增加相应的settings,就可以了。1
2
3
4
5
6
7
8
9
10
11
12
13# 在对应的python版本中,安装 raven
python3.6 -m pip install raven --upgrade
# 在Django 项目的settings.py文件的INSTALLED_APPS中,增加
INSTALLED_APPS = (
'raven.contrib.django.raven_compat',
)
# 在Django 项目的settings.py文件中增加,其中 os.getenv('SENTRY_DSN')是项目中.env文件中设置的SENTRY_DSN的值,也就是上文件中命令行生成的DSN的值
RAVEN_CONFIG = {
'dsn': os.getenv('SENTRY_DSN'),
# If you are using git, you can also automatically configure the
# release based on the git info.
# 'release': raven.fetch_git_sha(os.path.abspath(os.pardir)),
}
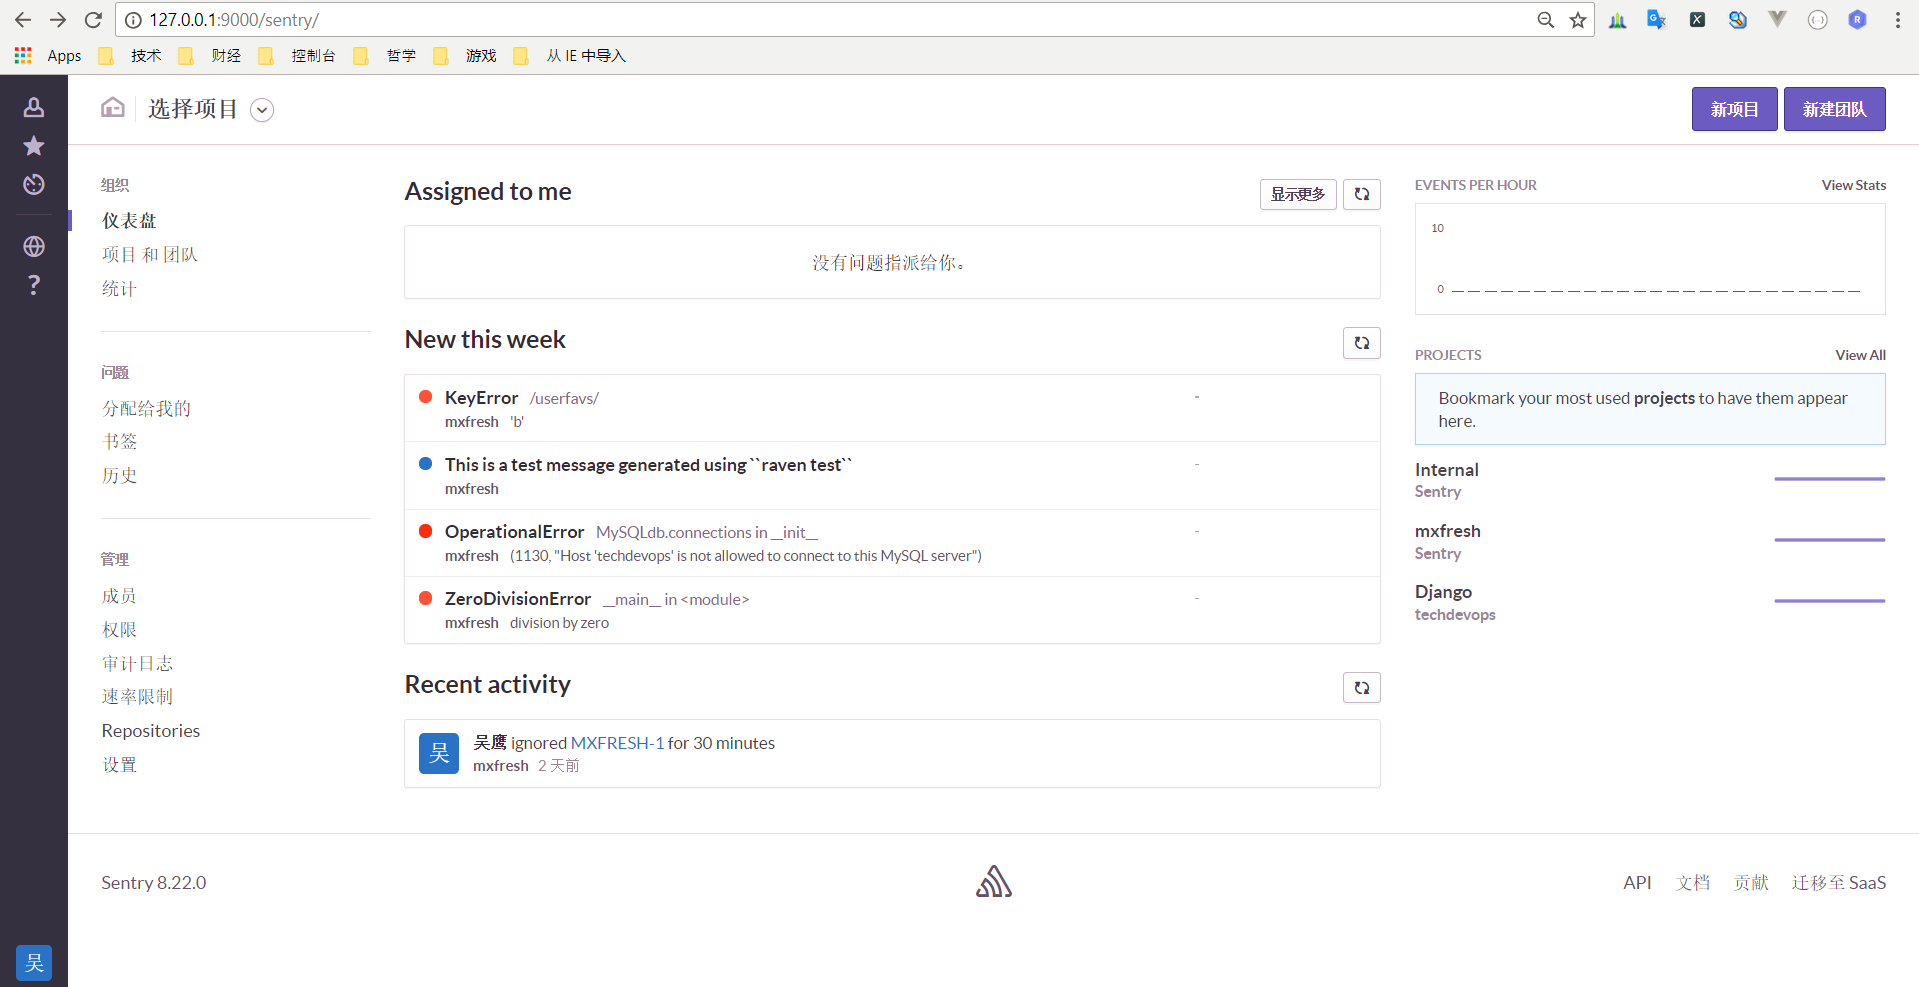
安装完成后,用之前生成的账号登录。具体配置可以参考官方文档,登录后,显示效果图如下:


